
Accommodation Photography Tips & Process (Victoria)
My Process and What Goes Into a Shoot
When it comes to accommodation photography in Victoria — whether it’s an Airbnb, holiday rental, boutique stay, or vacation home — the goal is always the same: to capture images that make people feel like they’re already there. Great accommodation photography goes beyond just showing a room; it highlights the atmosphere, light, and character of a property, helping owners attract bookings and showcase their space authentically.
I specialise in professional accommodation photography, interior photography, and holiday rental photography across Victoria, helping property owners, Airbnb hosts, and boutique hotels present their spaces in the best possible light.


Following the Light in Your Property
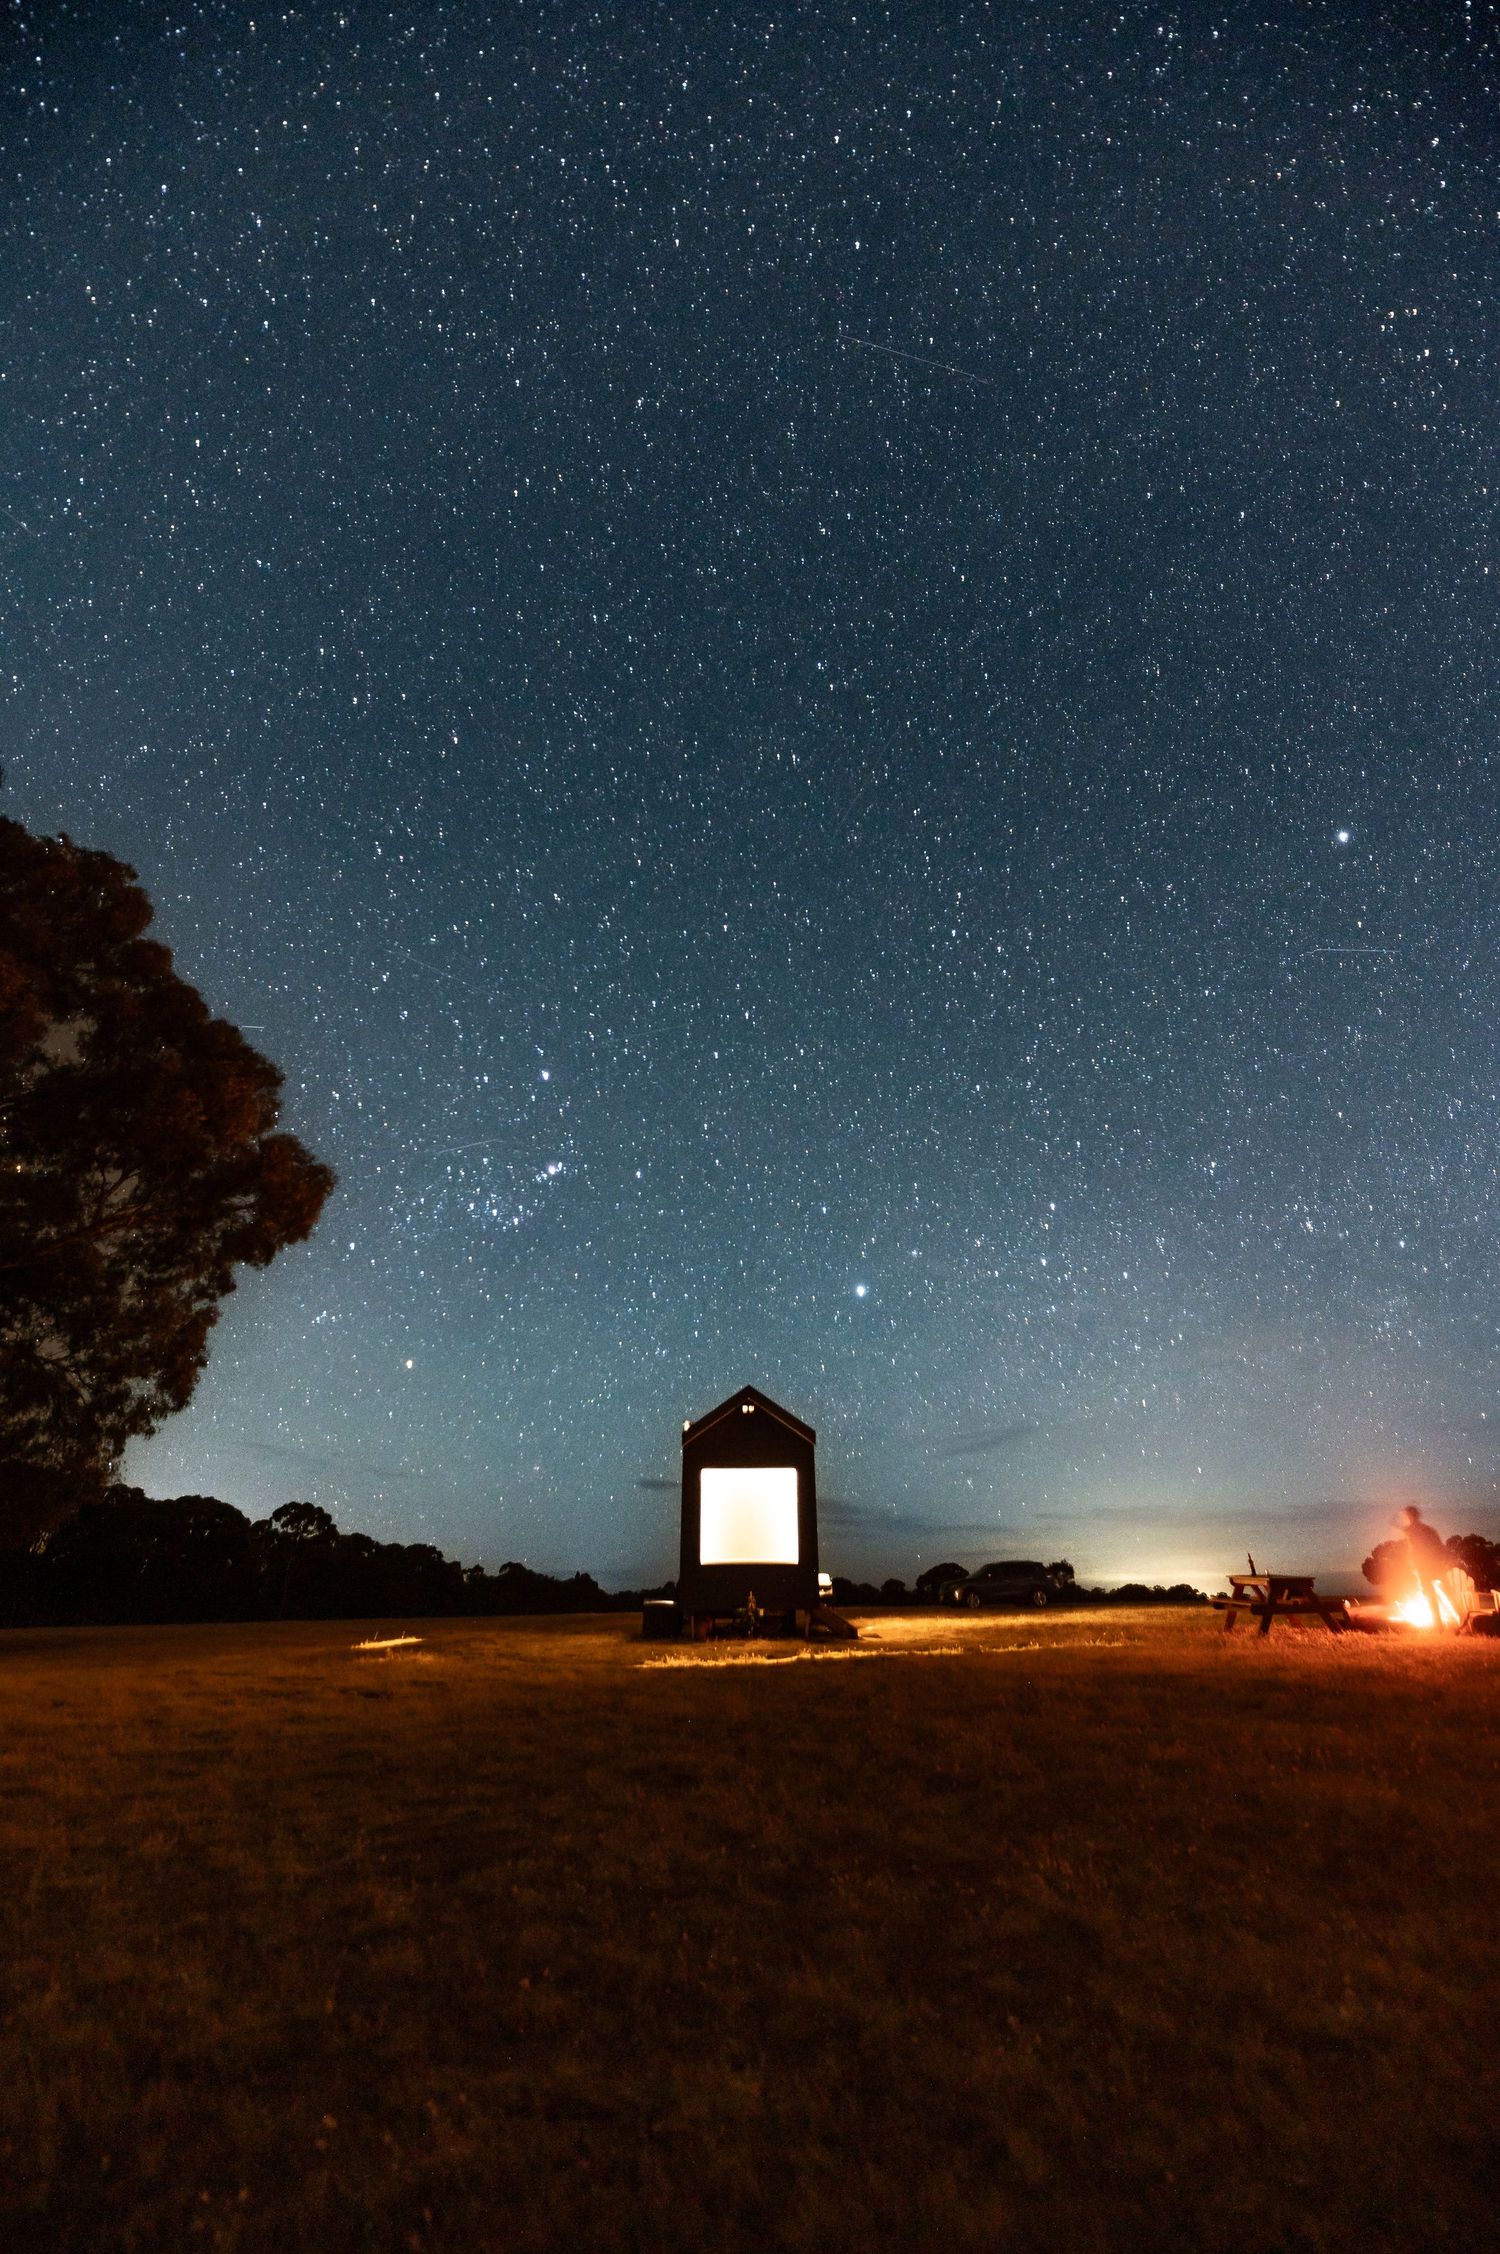
Light is everything in interior and accommodation photography. Natural light can completely transform a room, making it feel spacious, warm, and inviting.
During a property or Airbnb photoshoot, I pay close attention to how the light falls throughout the day. I often schedule shoots to capture the soft morning glow, the warm golden hour, or the bright natural daylight that highlights key features of your property. This approach ensures every room looks its best and creates a sense of place for potential guests.
Highlighting Features
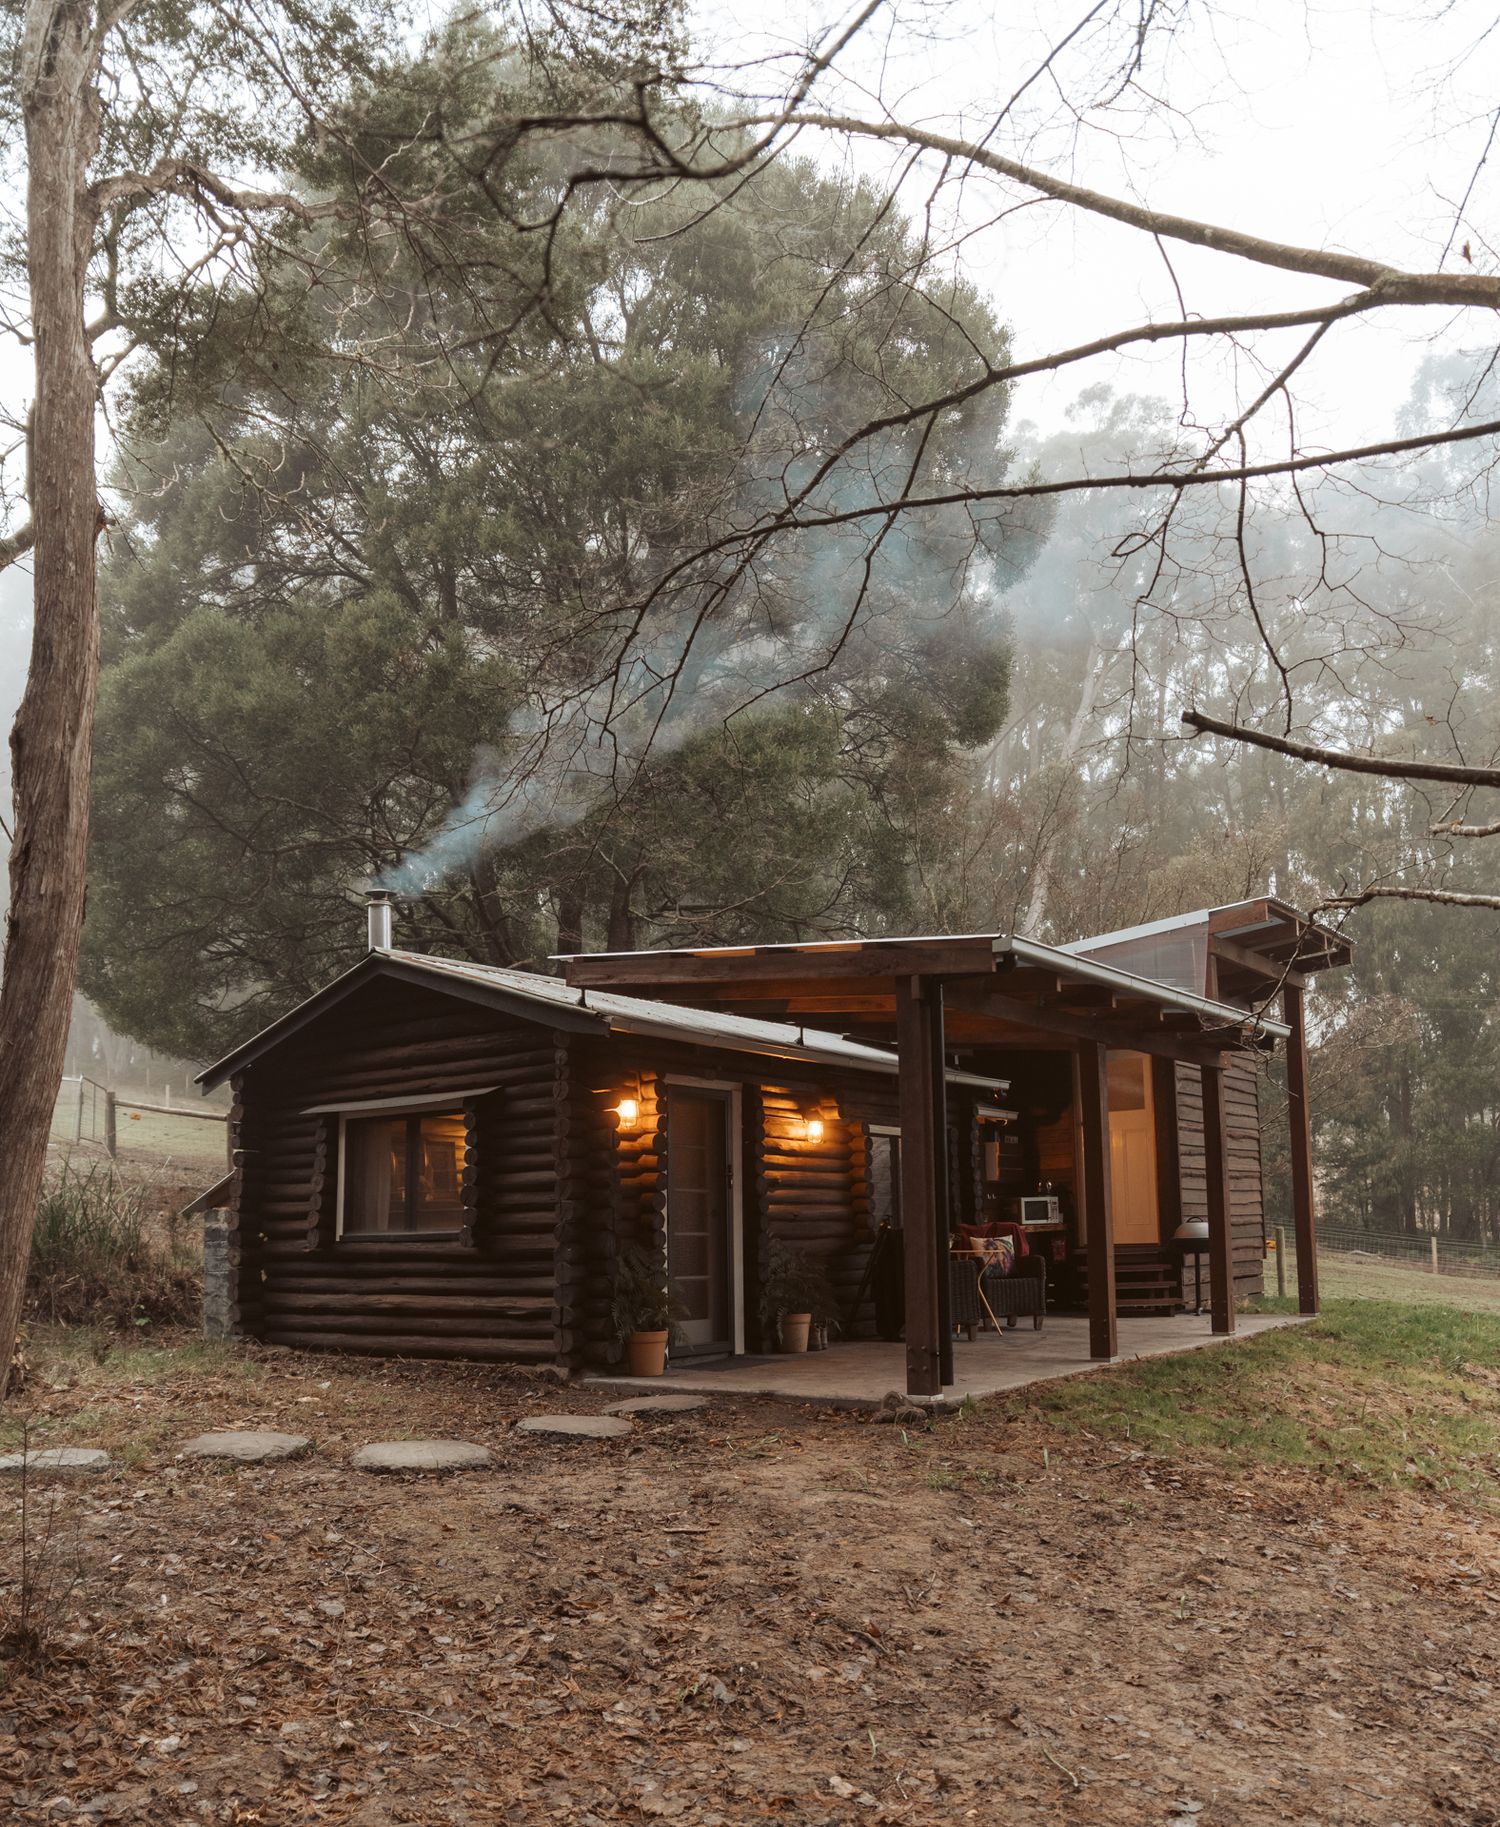
Each property has unique details that make it special — whether it’s a designer kitchen, a cosy reading nook, or a boutique bathroom. My accommodation photography process focuses on showcasing these features in a way that feels natural, intentional, and compelling.
From capturing architectural details to styling small elements like cushions, flowers, or linens, I aim to show what makes your holiday rental or property unique. This level of detail can make a huge difference in how potential guests perceive the property online.
Details
While stillness is important in interior photography, a property also needs to feel alive. I often include lifestyle touches — subtle movement, soft textures, and inviting setups — that help viewers imagine themselves staying in the space.
Whether it’s a morning cup of coffee on a sunlit bench, a neatly set dining table, or a cozy throw on the bed, these small touches create an immersive experience for anyone browsing your property online.
Efficient, Professional Photography Workflow
Accommodation photography sessions vary depending on the size and style of the property. Shorter sessions may focus on a single apartment or holiday home, while longer sessions can include multiple rooms, outdoor areas, and lifestyle setups.
I bring a documentary-style approach combined with professional lighting and composition techniques to ensure every image tells a story. My goal is to deliver a gallery of high-quality, professional photos that represent your property accurately and beautifully.


Preparing Your Property for a Shoot
Clean thoroughly: Dust surfaces, remove cobwebs, and ensure windows are sparkling to let in natural light.
Declutter: Clear benches, tables, and shelves to highlight the space rather than personal items.
Create an inviting atmosphere: Small touches like fresh flowers, cushions, or styled decor make rooms feel welcoming.
Maximise natural light: Open curtains and blinds to allow sunlight to fill rooms.
Remove personal items: This helps viewers focus on the property itself, especially for Airbnb and vacation rental listings.
Consider timing: Shoot during the day when natural light is at its best for each room.
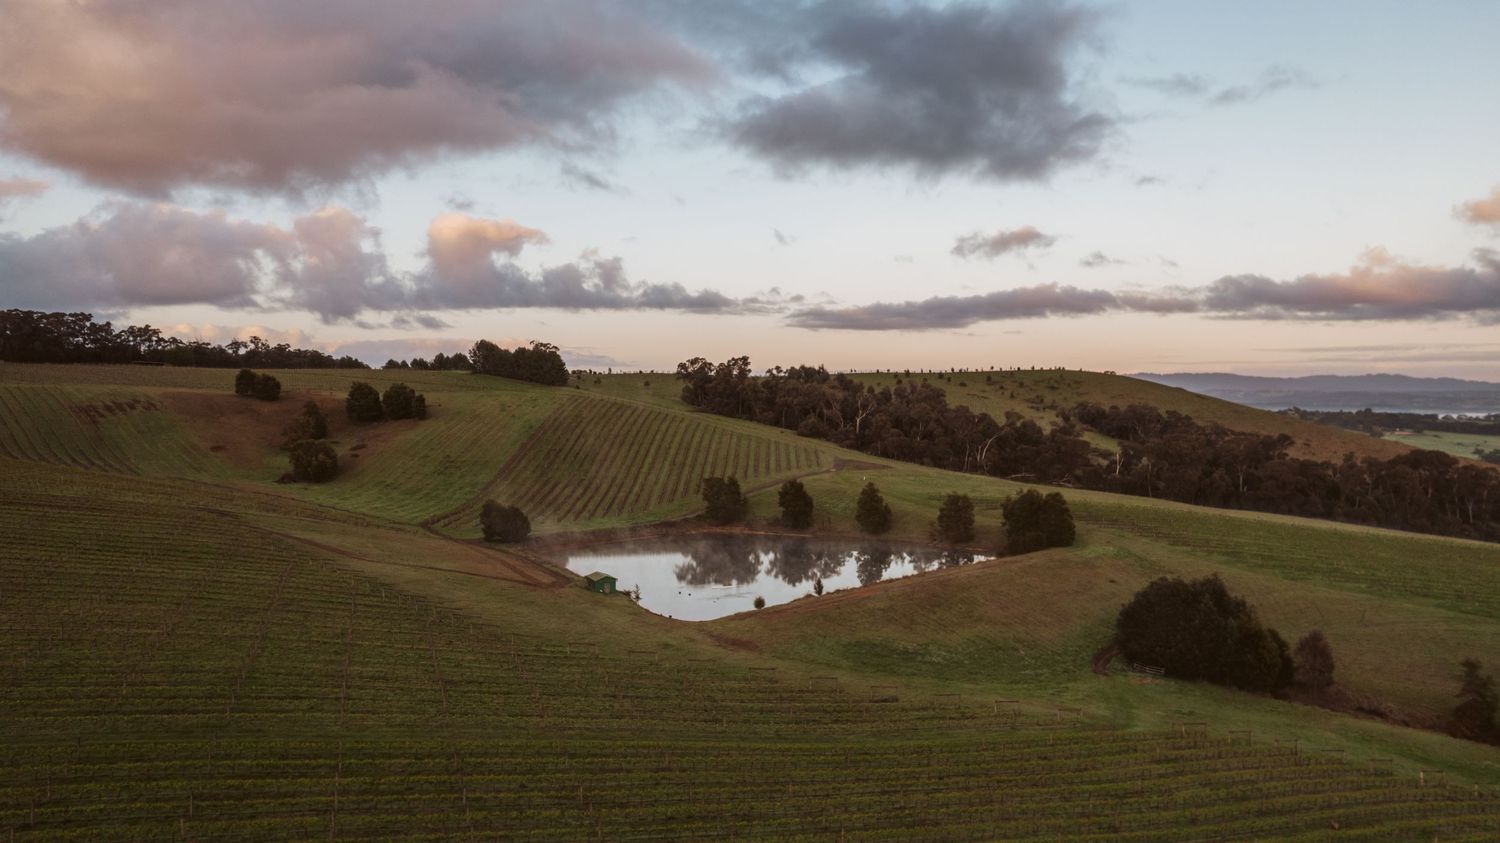
Aerial Photography
For rural properties, farms, or stunning locations, drone photography is the cherry on top. Aerial shots showcase the property’s setting—whether it’s a peaceful vineyard, mountain backdrop, or sweeping sunsets. These images often become the hero shots that set your listing apart.
Why Professional Accommodation Photography Matters
Investing in professional accommodation photography can significantly increase bookings and interest in your property. High-quality images:
- Show your property at its best
- Highlight key features and lifestyle appeal
- Create a sense of trust with potential guests
- Make your listing stand out on Airbnb, booking platforms, and property websites
Whether you’re an Airbnb host, boutique hotel owner, or property manager, professional accommodation photography is one of the most effective ways to showcase your space and attract guests.
